
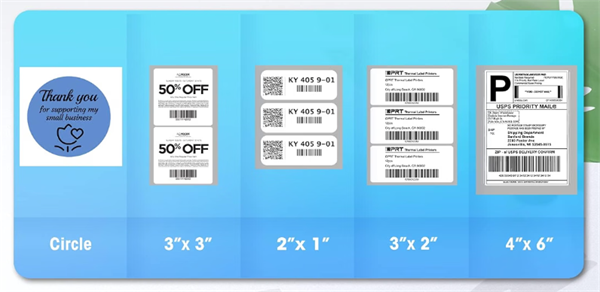
Custom sticker labels bring order and style to everything from pantry jars to product packaging. The good news is you don't need an expensive printing setup to create them. A thermal label printer lets you design and print custom adhesive labels without ink or toner. With the right thermal sticker paper and a simple design app, you can turn your creative ideas into practical stickers in just a few minutes.
In this guide, we'll walk you through how to make custom sticker labels with a thermal printer, using the HPRT thermal label printer as our primary example. Let's get started.
Can You Make Sticker Labels with a Thermal Printer?
Yes! A thermal printer can efficiently produce custom sticker labels for home organization, school supplies, retail pricing, handmade products, barcodes, and other everyday projects.
Unlike traditional inkjet printers, direct thermal printers use heat to create images on specially coated labels—no ink cartridges, toner, or ribbons required.
Thermal printing generally falls into two categories:
• Direct thermal printers apply heat directly to heat-sensitive labels. They are clean, fast, and the most convenient choice for everyday DIY stickers and short-term labeling.
• Thermal transfer printers use a heated ribbon to transfer ink onto the label material. These prints offer greater resistance to water, chemicals, abrasion, and UV exposure when paired with the appropriate ribbon and label material, ideal for industrial or outdoor use.
Want a clearer breakdown of how these two methods work? Check out our guide: What Is Thermal Printing.
Most standard thermal label printers produce monochrome prints. They excel at clear text, logos, icons, barcodes, borders, and simple graphics rather than full-color photos.
What Can You Make with a Thermal Sticker Printer?
✅️ Home organization labels: Pantry jars, storage boxes, kitchen containers, and office supplies.
✅️ Personalized name stickers: School supplies, notebooks, water bottles, and personal belongings.
✅️ Product packaging labels: Handmade soap, candles, gifts, and small-batch products, provided the label material suits the application.
✅️ Planner and DIY stickers: Journaling labels, decorative tags, and creative reminders.
If you need colorful photo stickers or intricate cut vinyl shapes, an inkjet printer or cutting machine is usually a better fit. For fast, low-cost, everyday adhesive labels, thermal printing is highly practical.
What Do You Need to Make Sticker Labels with a Thermal Printer?
To get started, you only need three essential components: a compatible thermal sticker printer, the right adhesive label rolls, and a design tool.
1. Select a Suitable Thermal Printer Based on Your Needs
Your printer dictates maximum label width, connectivity options, and workflow efficiency. Choose the model tailored to your specific use case:
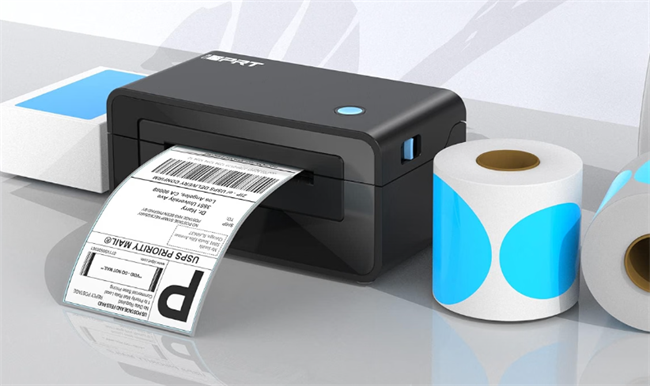
✔️ For Small Businesses & E-commerce (4-inch wide): If you need the flexibility to print both everyday stickers and larger 4×6 shipping or product packaging labels, a 4x6 shipping label printer like the HPRT SL42 is the ideal sweet spot.
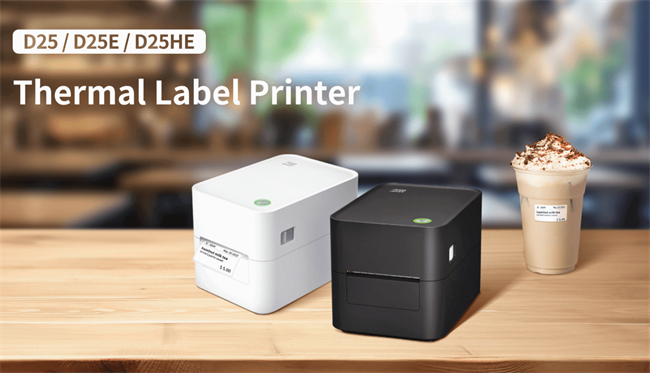
✔️ For Retail, Barcodes, & Compact Organization (2-inch wide): If your focus is on QR codes, product barcodes, price tags, or compact labels, the 2-inch HPRT D25 series delivers high efficiency in a space-saving, compact design. For wireless operation, the HPRT D25E-B model adds seamless Bluetooth connectivity.
✔️ For Personal & Light DIY Use: If you only need occasional, small-batch stickers for home organization, storage marking, or journaling, the Hanin New 1 inkless label maker is all you need.
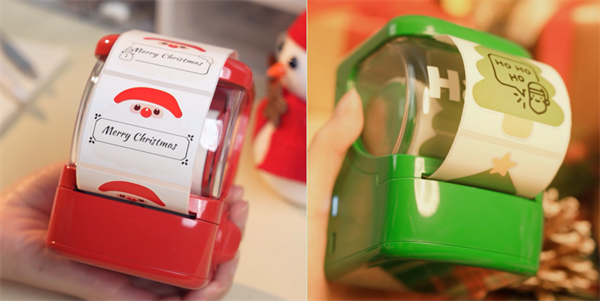
Further Reading: Best Mini Sticker Printers for Journaling
2. Choose the Right Thermal Sticker Paper
Only use direct thermal labels with a heat-sensitive coating. Ordinary inkjet sticker paper will not work.
When choosing labels, prioritize:
• Sticker printer Compatibility: Ensure the label roll width, maximum outer diameter, and feed format (roll or fanfold) match your printer's specifications.
• Size and Shape: Select dimensions tailored to your project, such as small round labels for pantry jars, rectangular barcode tags, or continuous strips.
• Adhesive Type: Match the adhesive to your target surface (glass, plastic, cardboard, etc.), and opt for removable adhesives for temporary marking on reusable containers.
• Durability Needs: Consider whether your project requires moisture resistance, light handling, or short-term indoor use.
Start with good-quality direct thermal rolls. Test a small batch on your actual surface before large runs.
3. Label design software
Most printer manufacturers offer dedicated label design software. HPRT label printers work with HereLabel, which offers mobile and desktop versions for creating and printing labels.
Alternatively, you can design labels in tools like Canva, export them as PDFs, and print directly.
How Do You Make Sticker Labels with a Thermal Printer?
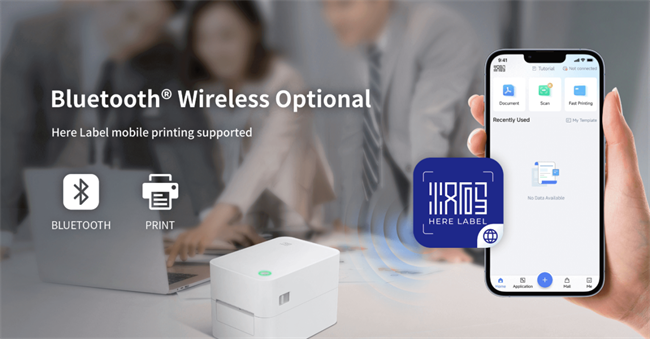
Now comes the fun part! Let's walk through the process using the HPRT D25E-B and HereLabel app.
Step 1: Download the App and Connect Your HPRT D25E-B Printer
• Install the App: Download HereLabel from your mobile app store or the official Hanin website.
• Prepare the Printer: Load a 2-inch thermal label roll into your HPRT D25E-B and turn it on.
• Connect via Bluetooth: Enable Bluetooth on your phone, open the app, and pair with your D25E-B printer.
Step 2: Create Your Sticker Design in HereLabel
After connecting, tap New to select an existing label template, or start a brand-new label design.
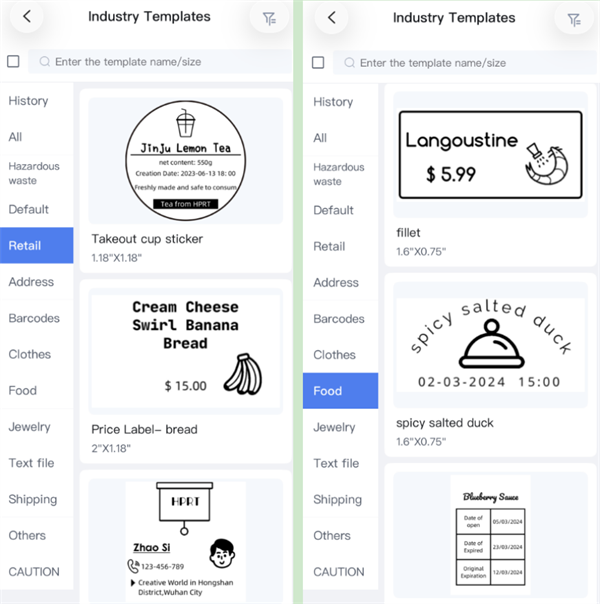
HereLabel provides several powerful editing tools:
✔️ Text: Add product names, food ingredients, personal names, dates, or short messages.
✔️ Barcode / QR Code: Add barcodes or QR codes for product identification, pricing, or quick scanning.
✔️ Image: Insert an image or brand logo.
✔️ Icon & Shape: Add various industry and lifestyle icons, plus geometric shapes like squares, diamonds, and ellipses to decorate your design.
✔️ Date: Insert dates for reminders, organization, or product labeling.
Want your sticker labels to look more professional? Try these design tips:
• Keep the message short. A pantry label such as "Coffee Beans" or "Brown Sugar" is easier to read than a long description.
• Create a clear visual hierarchy. Make the main product name larger and use smaller text for additional information.
• Use bold, high-contrast designs. Thermal printing works best with clear black elements against a light label background. Avoid very thin fonts, tiny text, and overly complicated graphics.
• Leave enough white space. Don't squeeze text and icons against the label edges. A little breathing room makes your stickers look cleaner.
• Match the design to the label shape. Center your text and graphics within the printable area, especially when creating round or narrow labels.
Step 3: Adjust Your Printing Settings
Before printing, review the preview and configure the basic parameters in HereLabel:
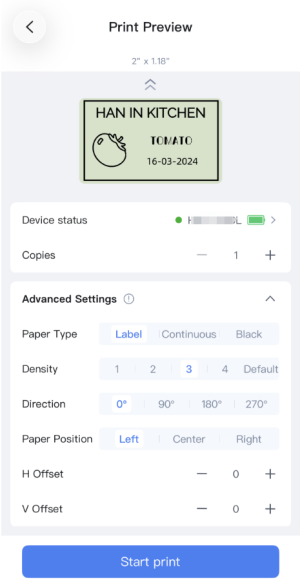
• Copies: Select how many identical stickers you want to print.
• Paper Type: Choose the media type that matches your roll, such as Label (gap labels), Continuous, or Black mark paper.
• Density: Adjust the print darkness (typically levels 1–4 or Default). Start with the default level and increase it slightly if text or barcodes look too faint.
A useful tip: If your design contains a logo or small graphic, print a test label before producing multiple copies. This helps you check whether the details remain clear at the actual label size.
Step 4: Print and Check Your Sticker Labels
Once your design and settings are ready, tap Print.
Check the first label carefully:
✔️ Is the text centered?
✔️ Are the edges of the design visible?
✔️ Is the print dark enough to read?
✔️ Does the label match your intended layout?
If everything looks good, print the remaining copies.
A useful tip: If the printer does not recognize label gaps correctly or prints with misaligned positioning, run a media calibration according to the printer's instructions before adjusting the design.
Step 5: Peel and Apply Your Stickers
If you're using pre-cut thermal label rolls, simply peel off each printed sticker and apply it to the desired surface.
For the best adhesion, make sure the surface is clean and dry. Press the label firmly from the center toward the edges to reduce air bubbles.
That's it! Your custom sticker labels are ready to use.
FAQs About Thermal Sticker Labels
1. Can a thermal printer print colored stickers?
Most standard direct thermal printers produce monochrome prints. Some specialized models support two-color thermal printing with compatible labels, but full-color photo stickers generally require a different printing technology.
2. Are thermal sticker labels waterproof?
Not all of them. Water resistance depends on the label material, thermal coating, and adhesive. Choose synthetic thermal labels specifically rated for moisture exposure if you plan to use them in kitchens or other damp environments.
3. Is a thermal label printer good for small DIY businesses?
Absolutely. A compact thermal label printer like the HPRT D25 series is ideal for producing small batches of product names, packaging labels, and personalized stickers. For larger or more demanding production runs, consider upgrading to a rugged commercial or thermal transfer label printer.
Start Creating Your Own Sticker Labels!
HPRT thermal label printers allow you to turn ideas into crisp, custom stickers in minutes. Paired with the HereLabel app, you can effortlessly organize kitchen jars, tag retail inventory, or brand small-batch products without ink or complex setups.
Ready to get started? Explore the HPRT thermal label printer lineup and start creating today!