

An instant camera turns a moment into a physical photo with a single press of the shutter. Most entry-level models don't offer a smartphone-style live preview or the option to delete and retake a shot. Film and print media also come at a cost, so every shot counts.
Beginners often run into common problems, from off-center framing and overexposed photos to group shots where some faces look bright while others appear too dark. These instant camera photography tips will help you troubleshoot these issues and take better photos with confidence.
Essential Instant Camera Photography Tips: Framing, Distance, Lighting, Flash, Filters, and Composition
1. Viewfinder Parallax: Why Does Your Subject Look Off-Center?
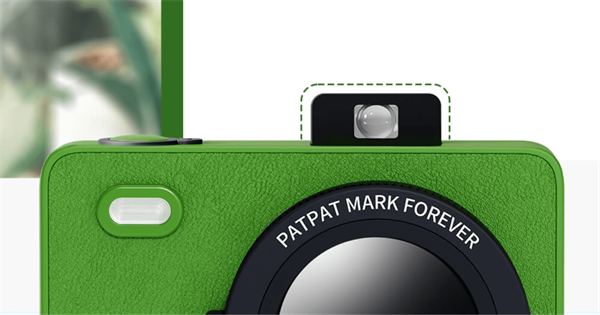
You carefully center your subject in the viewfinder, take the shot, and then find them pushed to one side in the final photo. What happened? Viewfinder parallax could be the culprit. It's one of the easiest problems for beginners to overlook, yet it can lead to poorly framed shots.
On many instant print cameras, the viewfinder and lens are positioned differently. As a result, the scene you see through the viewfinder may not perfectly match what the lens captures. This difference becomes more noticeable when photographing people or small objects at close range, especially during selfies.
How can you fix it?
First, check whether your camera supports a close-up mode or a parallax correction feature. If it doesn't, follow the manual's instructions for adjusting your framing. When using a camera for the first time, take a test shot and see which way the subject shifts in the final photo. You can then fine-tune your framing to suit that particular camera.
2. Shooting Distance: Avoid Blur and Unnatural Proportions

As a general guideline, a useful starting distance for half-body portraits is 0.6–1.2 m (2–4 ft). For selfies, try 0.4–0.5 m (about arm's length). For full-body shots, start at 1.5 m (about 5 ft) or farther.
Shooting too close can exaggerate perspective, making facial features and limbs look out of proportion. At greater distances, flash illumination usually becomes weaker, and your subject takes up less of the frame. In low light, the photo may also look dim or flat.
Note: These distances are intended as composition guidelines only. Adjust them according to your camera's minimum focusing distance, field of view, and effective flash range.
3. Lighting Tips: Shooting Outdoors, Indoors, on Cloudy Days, and at Dusk
The best light for instant photography isn't necessarily the brightest. Soft light with a clear direction is often more flattering and easier to work with. Outdoors, try side lighting in the afternoon, roughly between 2 and 5 p.m. On overcast days, diffused daylight creates softer shadows. The shade of trees and buildings can also provide more even lighting than harsh midday sun.
Direct overhead sunlight at noon can create deep shadows under the eyes, nose, and chin. At the same time, bright areas of the face may become overexposed. This makes harsh midday light particularly challenging for portraits.
Cloudy days are an underrated opportunity for instant photography. Diffused light reduces harsh contrast and helps keep facial features evenly lit. Even without makeup, you can achieve a clean, natural-looking portrait.
Indoors, try positioning your subject near a window. Side lighting or natural light coming from roughly a 45-degree angle can add depth without creating harsh shadows. Avoid relying entirely on overhead lights, which can leave the eye sockets looking dark.
At dusk, backlighting can create a beautiful rim of light around your subject. Turn the subject slightly toward the light and use flash to brighten the face while preserving the atmosphere of the background.
4. When to Use Flash on an Instant Camera
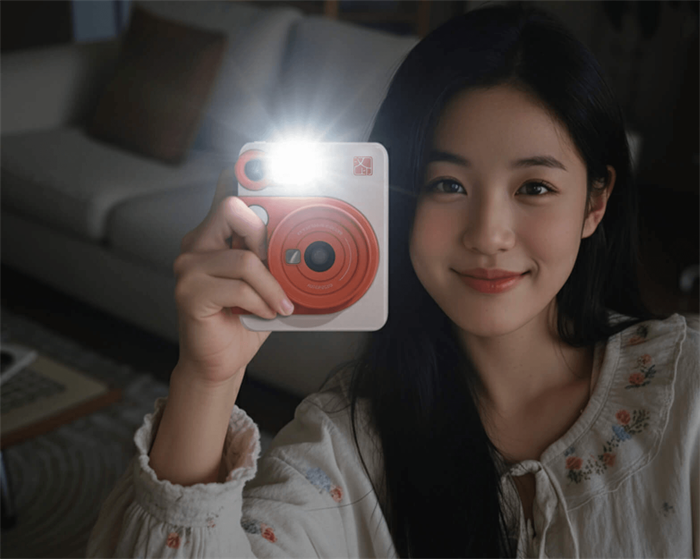
Quick tip: Use flash indoors, on overcast days, at dusk, and in shade. Turn it off in bright, direct sunlight—if you can't disable it, just block it. For backlit shots, use flash to fill in shadows on your subject's face.
Flash has a limited effective range. If your subject is too close, the face may look washed out. If they're too far away, the flash may not provide enough light.
Another common beginner mistake is accidentally covering the flash with a finger. Keep your fingers clear of both the lens and flash. Instead of wrapping your hand around the front of the camera, support the bottom with your fingertips.
The Hanin Z5S instant print camera features a pop-up viewfinder and an LED flash with a color temperature of 5000K–6000K, close to daylight. In low-light conditions, it is designed to help produce natural-looking skin tones without the overly cool or bluish cast sometimes associated with flash photography. This can be particularly useful in rooms with warm overhead lighting or in mixed lighting at dusk.
5. How to Choose Instant Camera Filters for Different Scenes
Filters can change the mood of a photo in seconds. The Hanin Z5S offers five creative filter modes, selected using a five-position dial. Switching between looks is quick and convenient, especially when you're trying to capture a fleeting moment.
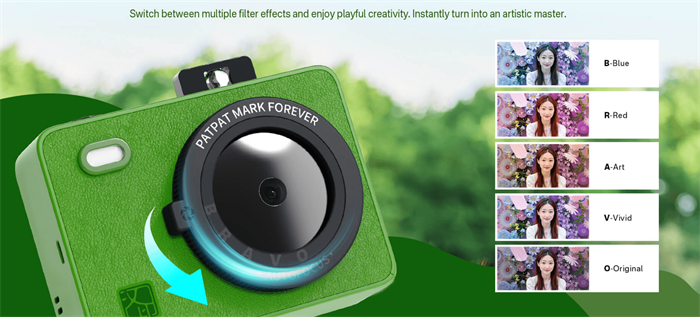
• O — Original: Natural, understated colors. Ideal for everyday snapshots, casual moments, and group photos.
• A — Art: Softer contrast and a retro feel. Try it in grassy parks, wooded areas, or old streets when you want a more atmospheric look.
• V — Vivid: Brighter, more vibrant colors. A good choice for sunny picnics, flower fields, colorful outdoor scenes, and solo portraits with light-colored outfits.
• B — Blue Tone: A cool, crisp look that suits window-side portraits, urban street scenes, and the blue hour around dusk.
• R —Red Tone: Adds a warm, golden cast. Try it for natural-looking selfies, evening portraits, or indoor scenes with warm lighting.
6. Instant Camera Composition Tips: Framing, Headroom, and Posing
Instant photos have a relatively small frame, so half-body portraits are often easier to compose than full-body shots. As a starting point, let your subject fill roughly two-thirds of the frame while leaving a little breathing room around the edges. This gives you more margin for framing errors.
Avoid placing your subject too close to the top edge. Too little headroom can make a photo feel cramped. For full-body shots, leave enough space around the feet to avoid cutting them off.
Beyond these shooting tips, your poses also play an important role in how your instant photos turn out.
• Give your hands something natural to do, avoid staring directly into the lens the entire time, and turn your body slightly with your weight on your back foot.
• For group photos, try to keep everyone's face at a similar height and under similar lighting conditions. Slightly staggered positions can add depth while helping keep the lighting balanced.
Combine these posing tips with the right shooting distance, lighting, and flash settings to increase your chances of getting a photo you love.
Common Instant Camera Problems and How to Fix Them
Even with good shooting habits, a few common issues can still affect your results. Use this troubleshooting table to identify the likely cause and find a practical solution.
|
Problem |
Likely Cause |
How to Fix It |
|
The subject looks off-center even though they were centered in the viewfinder |
Viewfinder parallax, especially at close range |
Check whether your camera supports parallax correction. Follow the manual's framing guidance, take a test shot, and fine-tune the composition. |
|
The photo looks too bright or washed out |
Harsh midday sunlight or flash that's too close to the subject |
Try softer side lighting. In bright outdoor conditions, shield the flash appropriately. |
|
Some faces look dark, especially in the back row |
A finger or clothing is blocking the flash, or people are beyond its effective range |
Make sure the flash is unobstructed. Bring the group closer together and keep everyone within the flash's effective range. |
|
The subject appears blurry |
The shooting distance is too close or the selected mode isn't suitable for the scene |
For half-body portraits, use 0.6–1.2 m as a reference. For selfies, try around 0.4–0.5 m, adjusting the distance to suit your camera. |
|
Selfies are poorly framed or expressions aren't ready |
Shooting without checking the composition first |
Use the camera's built-in selfie mirror to check your framing and expression before pressing the shutter. |
|
Skin tones look dull or too yellow |
Warm indoor lighting or mixed light sources |
Try R (Red Tone) for selfies or indoor shots, and O (Original) for outdoor scenes. |
Note: The filter recommendations above refer to the Hanin Z5S. Other instant cameras may use different filter names and settings.
FAQ: Instant Camera Photography Tips
Q1. Should you use flash when taking instant photos outdoors on a sunny day?
In bright, direct sunlight, you usually don't need flash. If your camera can't turn it off, shield or adjust the flash to prevent overexposure. In backlit scenes or under tree shade, use flash to add light to the face.
Q2. How can you prevent uneven lighting in instant camera group photos?
Try to keep everyone's face at a similar height and under roughly the same lighting conditions. Slightly staggered positions are fine, but avoid placing some faces much farther from the light than others.
Make sure the flash isn't blocked by fingers or clothing. If the group is large, bring everyone closer together when possible or make better use of available light.
Q3. How can you make instant photos look more atmospheric on cloudy days?
Cloudy daylight is soft and diffused, making it a good choice for portraits. Position your subject facing the light for more even facial lighting. For a moodier look, use the shade of trees or buildings to create contrast. If you're using the Hanin Z5S, try the A (Art) filter for a retro feel or B (Blue Tone) for a cooler look.
Q4. Do you need to shake an instant photo after it comes out?
No. Traditional silver-halide instant film photos should not be shaken, as shaking can interfere with the even distribution of the developing chemicals. The Hanin Z5S uses dye-sublimation printing, so the photo is fully printed when it comes out. There's no need to shake it or keep it in the dark. The process is different from the chemical development used by traditional instant-film cameras.
Start Taking Better Instant Photos
The appeal of instant photography lies in turning light, distance, and expression into a physical photo you can hold. Not every shot needs to be perfect. Experiment with different lighting and angles, and gradually find your own shooting style.
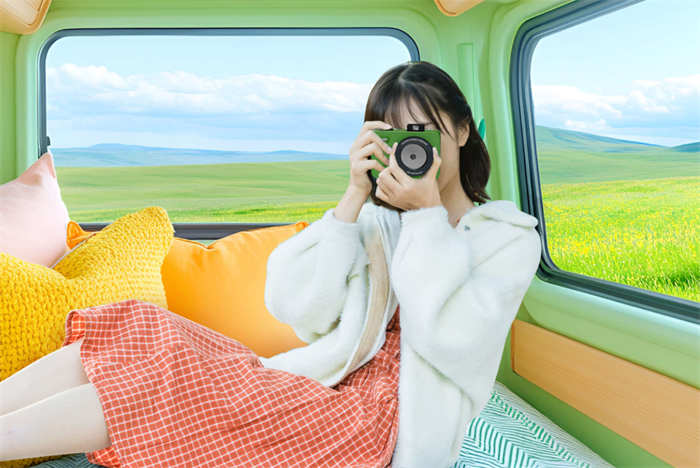
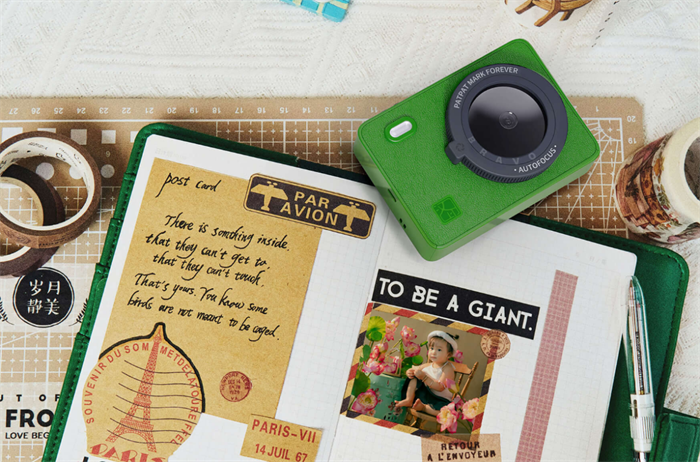
Hanin instant cameras, including the Z5S, M6, offer an approachable way for beginners to put these basic techniques into practice. Visit the Hanin instant print camera product page to explore camera features, filter options, and more creative ways to capture everyday moments.